A Vibrant Canopy for the EF Cypher Heli

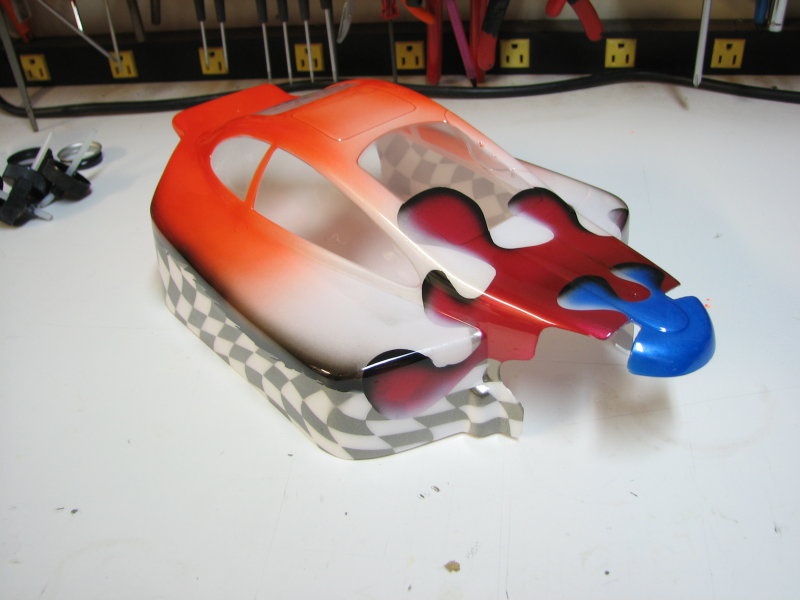
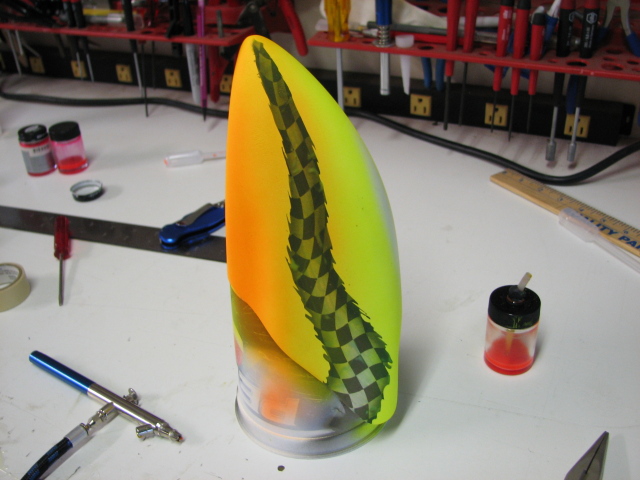
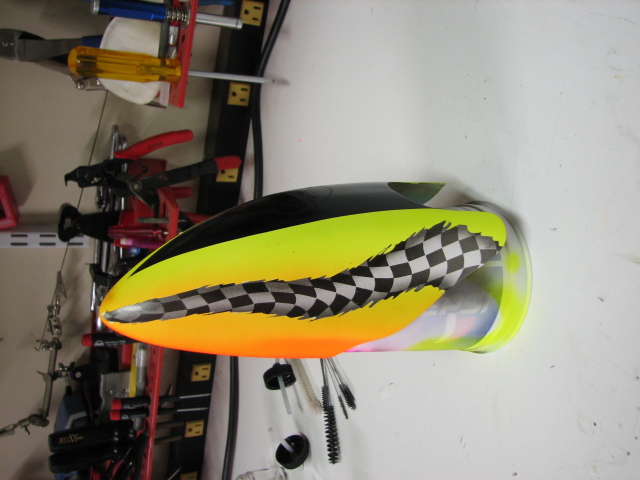
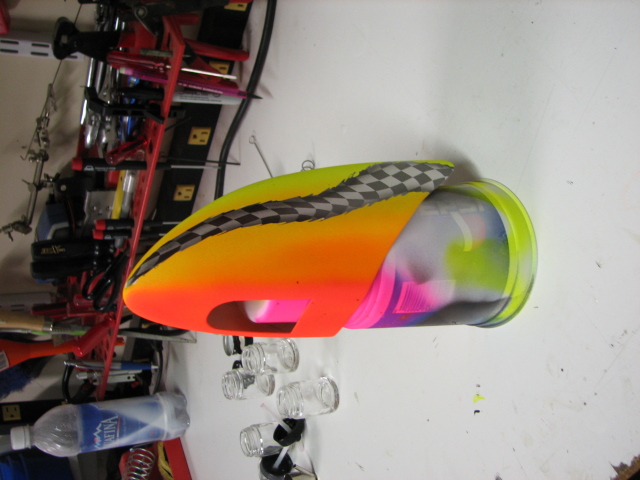
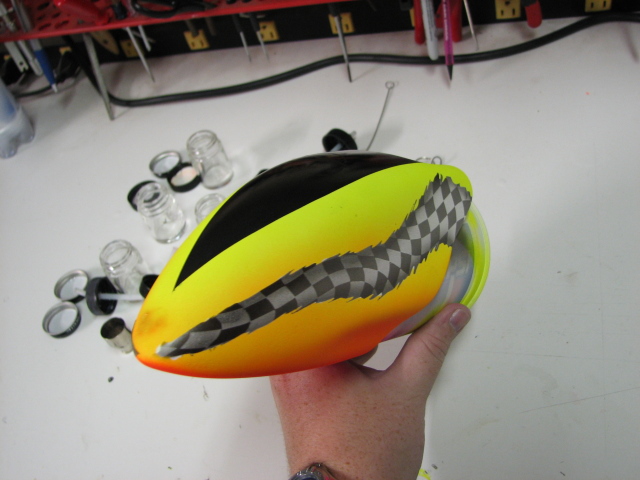
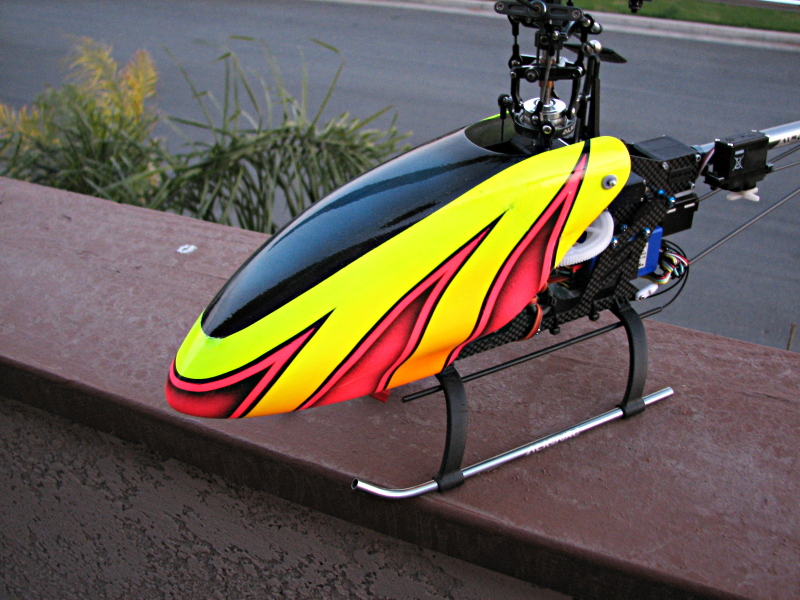
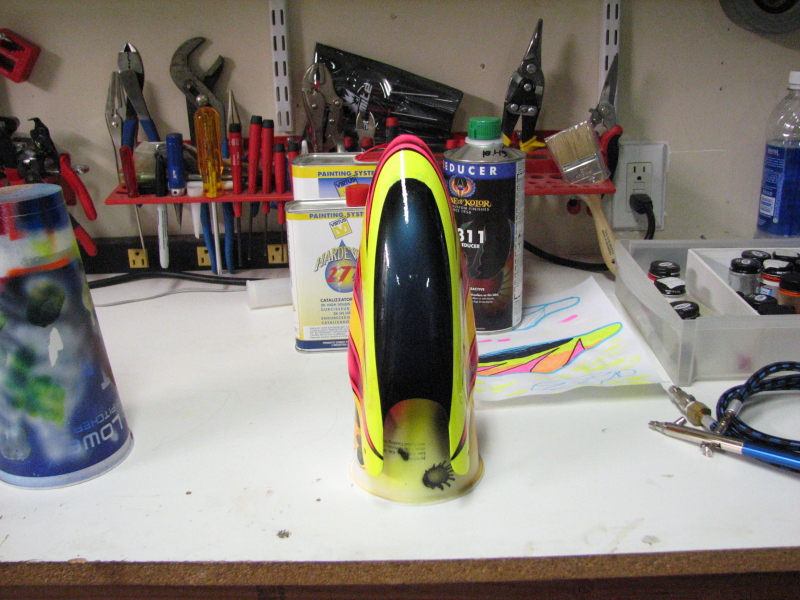
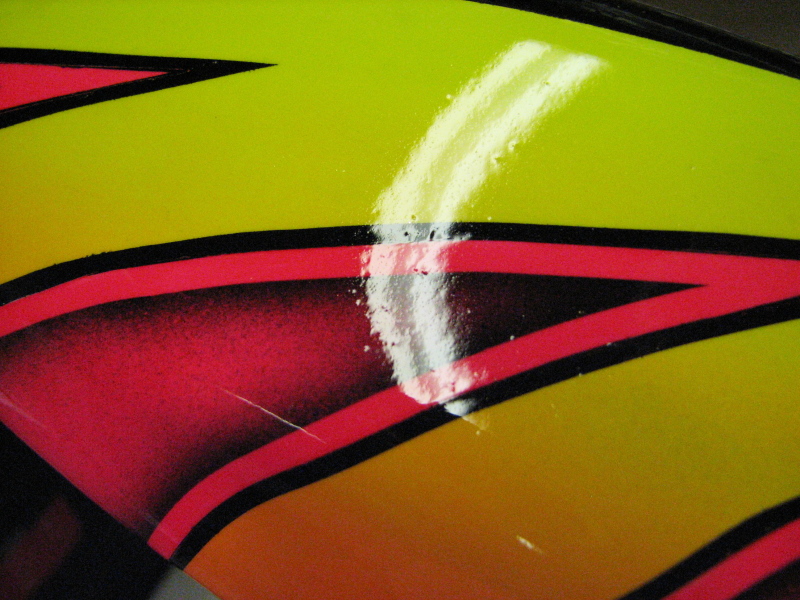
On a never-ending quest for high-visibility canopy designs, I came up with this bad boy. Unfortunately I over sanded the first coat of clear and broke through to the candy blue in a few spots :( You will have to excuse the poor cover ups. Luckily they aren't noticeable when in flight.

Step-by-step:

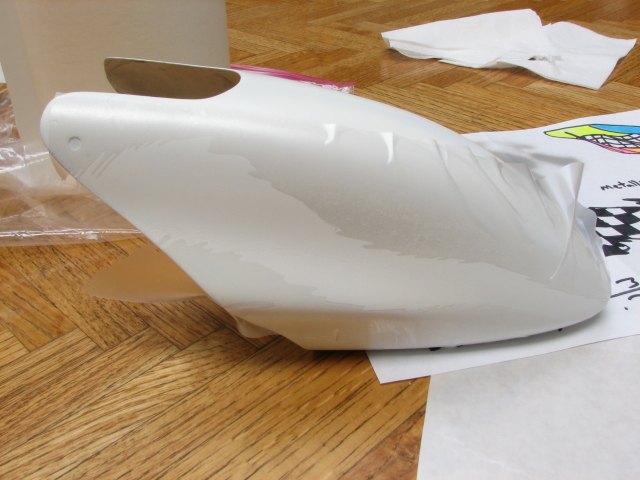
  1. Reinforced the edges of the canopy with some extra fiberglass.
  2. Filled the stock holes with microballons and flexible CA.
  3. Thoroughly sanded the canopy, then primed with sandable primer. Two coats.
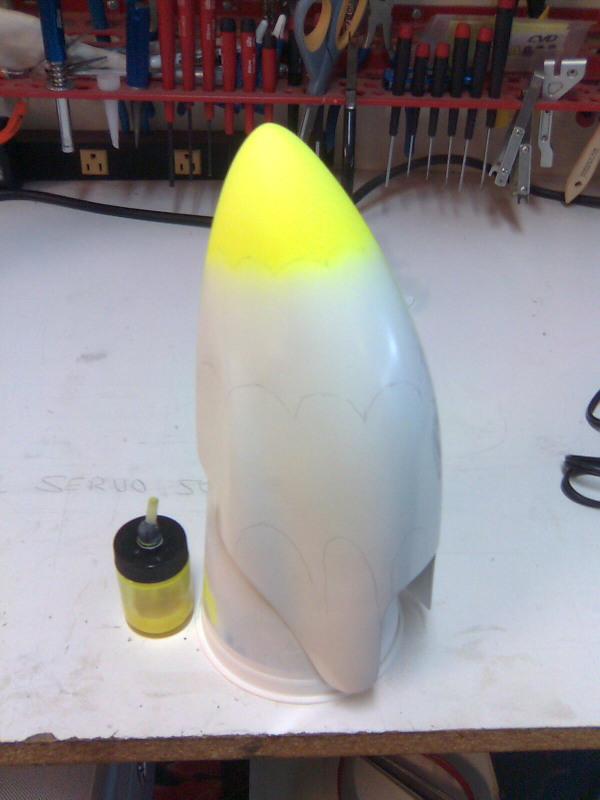
  4. One coat of white paint.
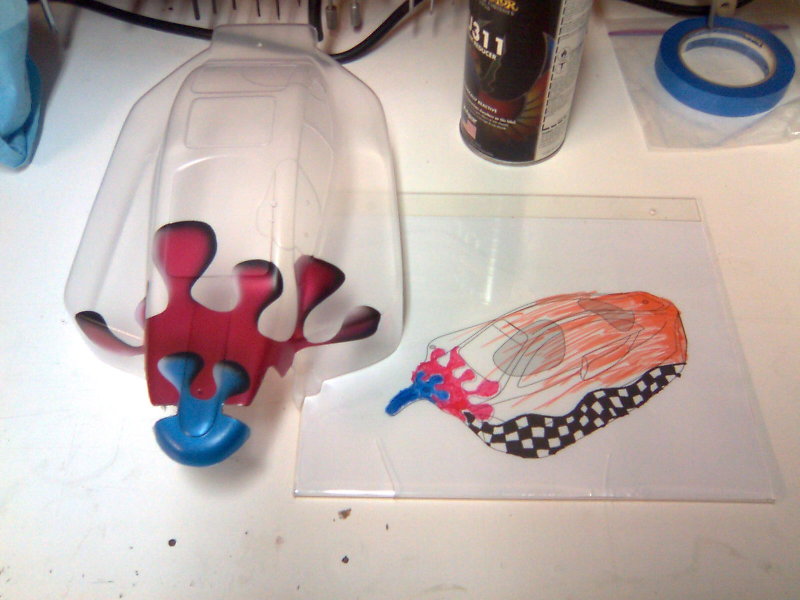
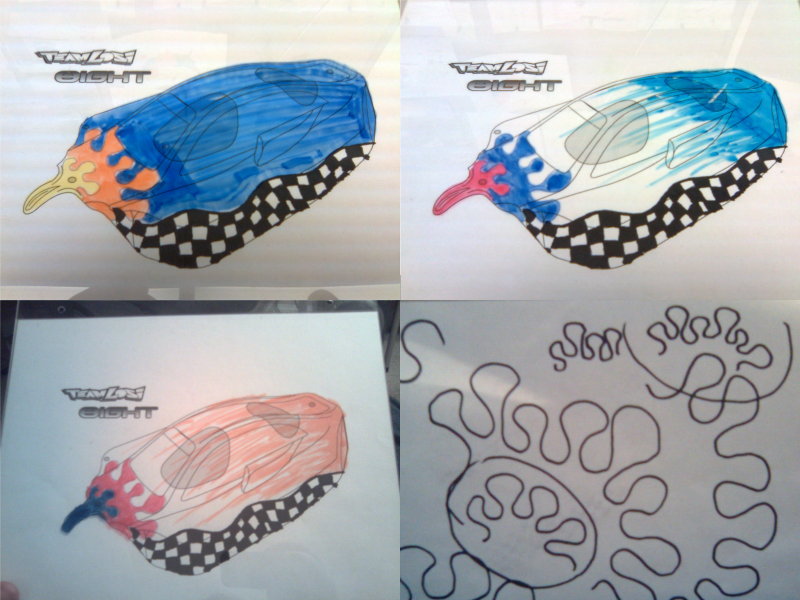
  5. Drew the curves with a 4B pencil. Don't make the mistake I did: A mechanical pencil's lead is sharp and will spear into your nicely sanded and primed surface. Heart breaking...
  6. Washed the canopy with warm soap and water. No, this does not remove your drawing unless you scrub really hard.
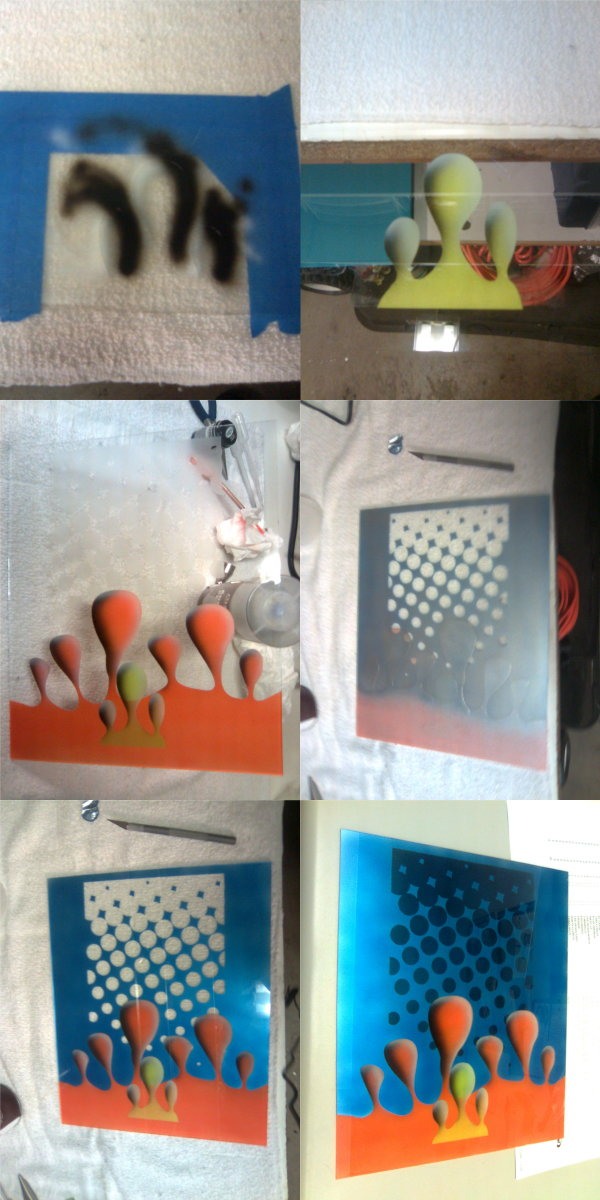
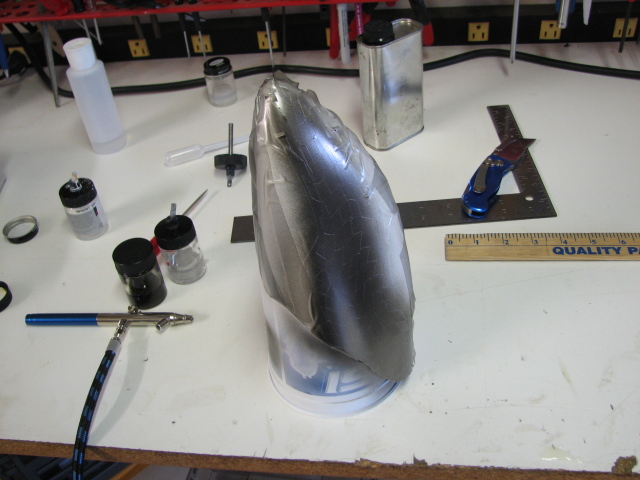
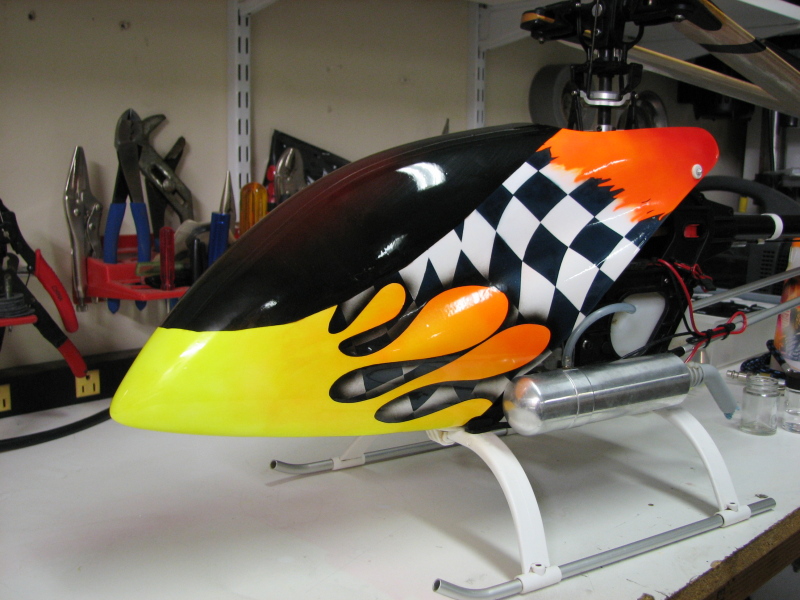
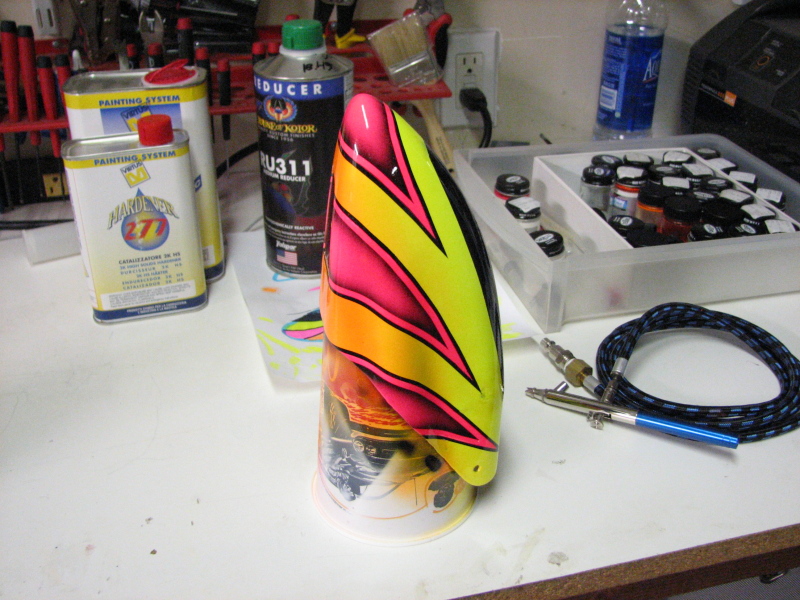
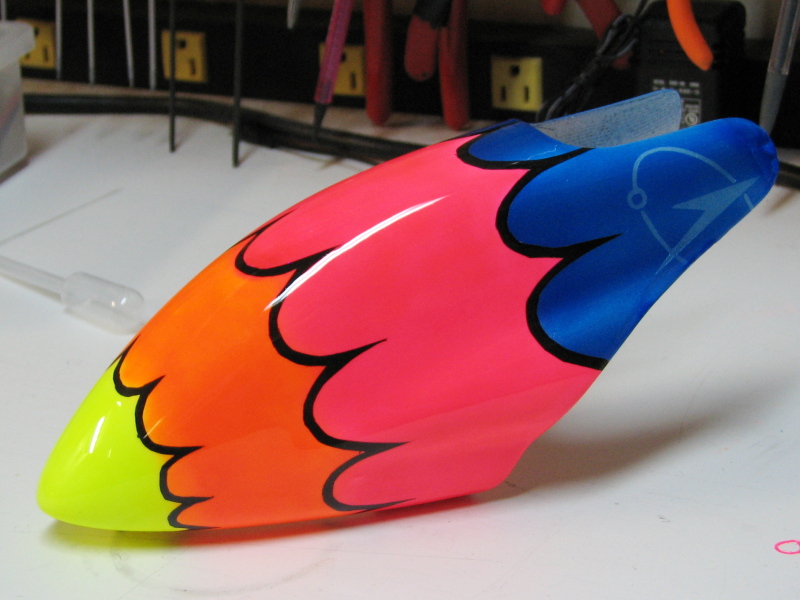
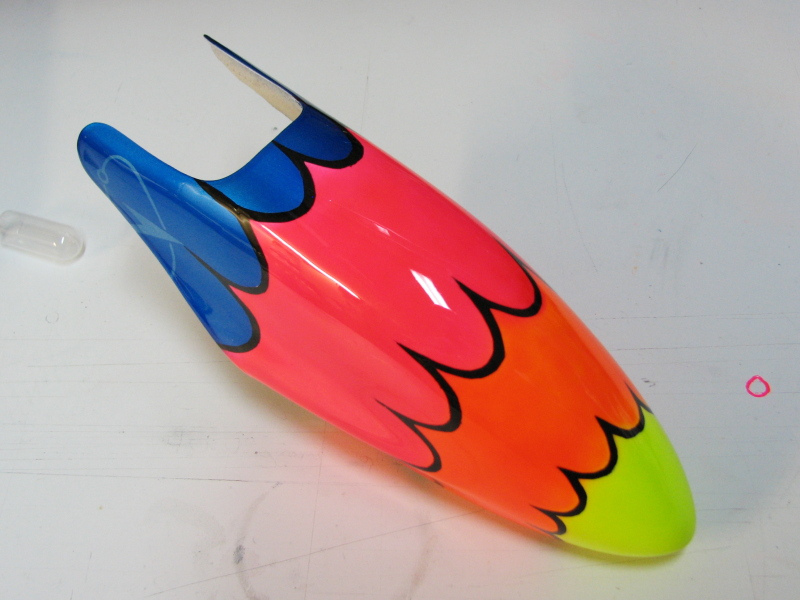
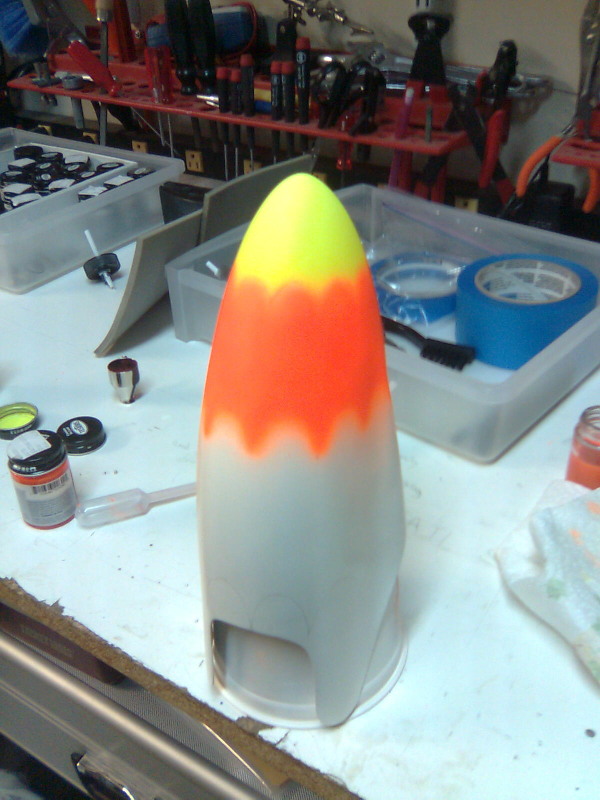
  7. Shot the color coats: fluorescent yellow, fluorescent orange, fluorescent red, silver and candy blue.
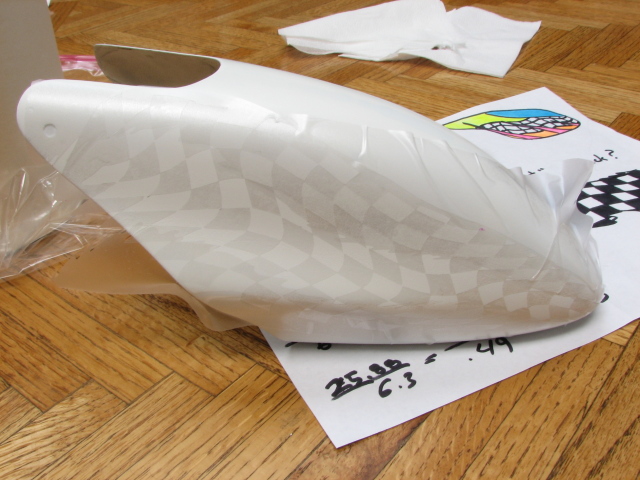
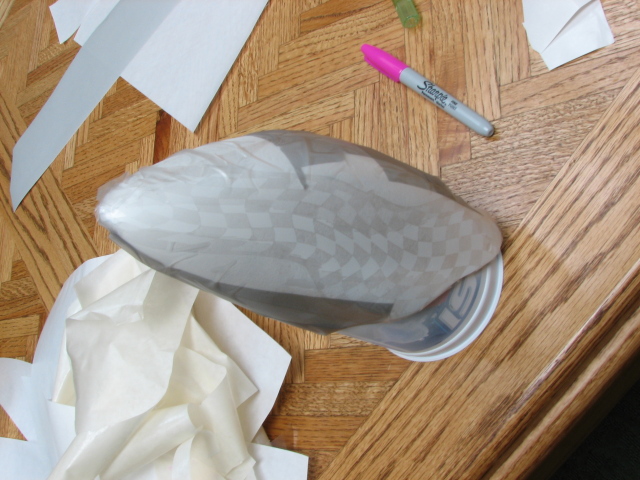
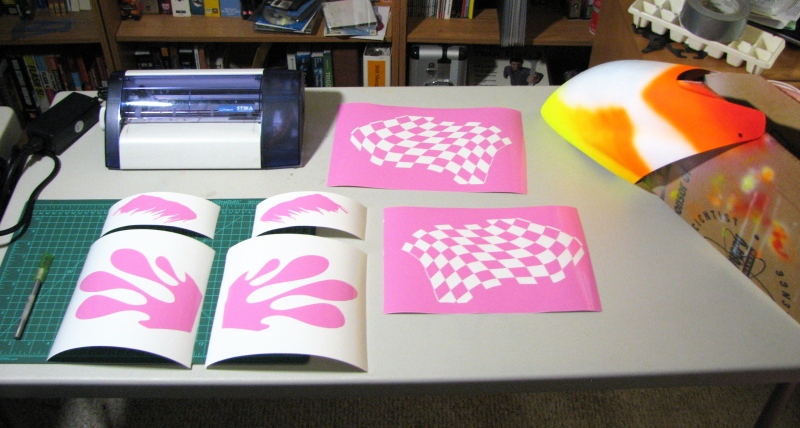
  8. Masked off the entire canopy with some liquid mask. Let dry for a few hours in the sun.
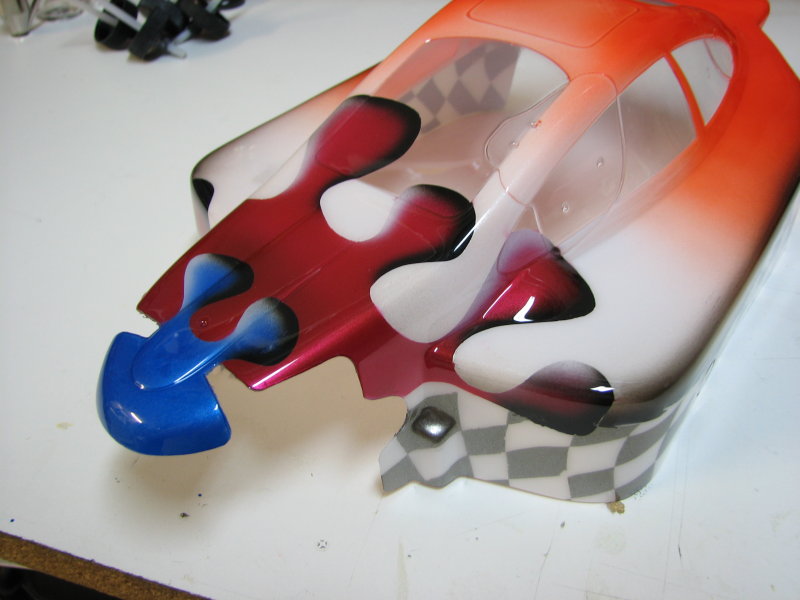
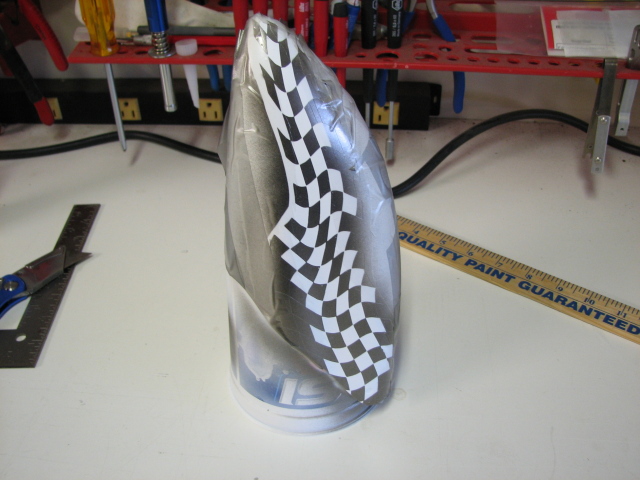
  9. Used a Sharpie to draw the black outlines, then cut out the outlines with a fresh #11 blade.
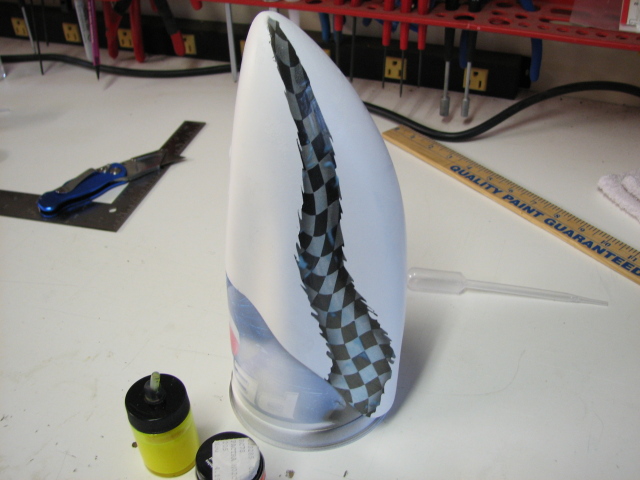
  10. Shot the black, then peeled off the remaining mask.

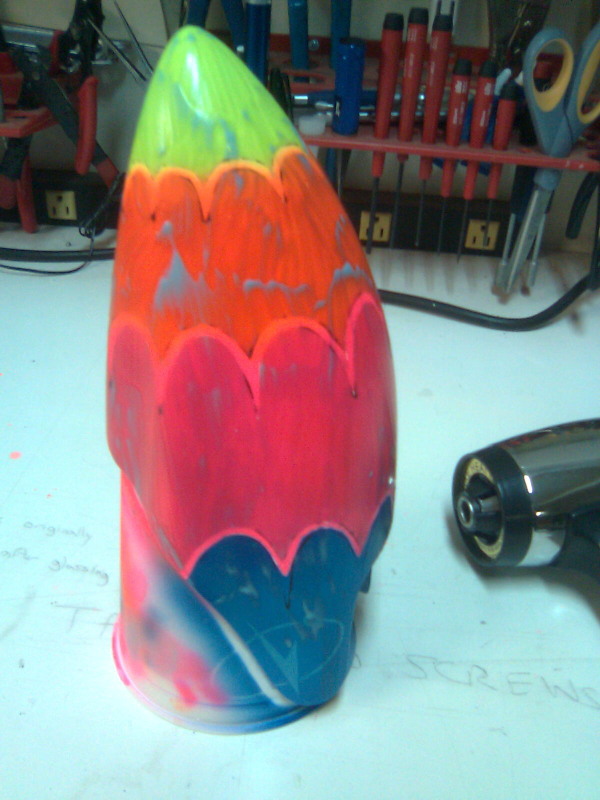
When removing the liquid mask there will be a blue tint left behind. Its goes away after a few hours. You don't have to wait for it, it will still disappear if you paint or clear over it.

  1. Shot the first layer of clear.
  2. Let it cure for 24 hours, then sanded it. I over sanded and broke through the candy blue :(
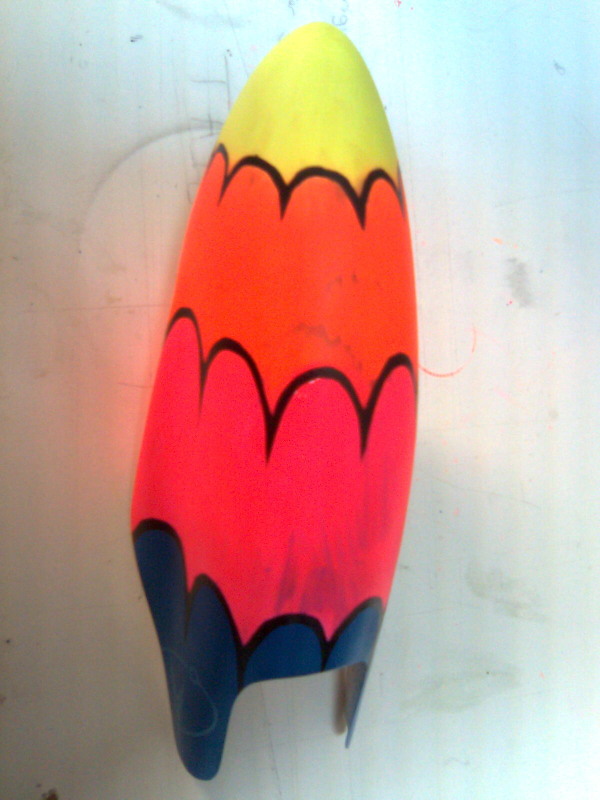
  3. Fixed my mistake as best I could, then washed and applied a second coat of clear.
  4. Done.

My First Airbrushed RC Car Body

After more than a month of indecision, I finally settled on a theme for my first attempt at an airbrushed r/c car body. It turned out very well for a first try however I took some time to practice before hand which rewarded me well. Here is the end result:

The checkers are actually a nice deep and shiny color, but my workbench's white surface is being reflected making it look lighter than it is. The colors used were: metallic blue, metallic red, white, black, silver, fluorescent yellow and red. The orange is a mix of the fluorescent yellow and red, while the dark silver in the checkers is a mix of silver and black.

Midway through the job:

Below is my very first practice piece. It was a sheet of glass I had laying around. I wanted to see if I could shade my paint drips decently and get a feel for painting from the "inside." I learned about the importance of not laying on too wet of a backing color or it will bleed through. Dark colors also need to be done first or they will show through the lighter colors.

Lastly here are some of my doodles that helped me select a theme to try...

Ripped Checkers RC Heli Canopy

I just finished painting another canopy for my 450's. I planned for so much more than what resulted, but after having problems with paint peeling up I finished it up with minimal masking and had to leave it fairly simple looking. I think one of my primer coats was laid on too thick.

Work-in-progress:

Step-by-step:

  1. Masked off the jagged edges of the checkered flag.
  2. Masked off the checkers.
  3. Laid on a silver / black blend.
  4. Peeled off the checkers, and shot a drop shadow around the edges of the flag.
  5. I used some liquid mask to mask off my jagged flag. Goes on opaque, dries translucent.
  6. Removed the vinyl masking. Now I see some of the white paint peeling up.
  7. Shoot the fluorescent yellow to fluorescent orange fade.
  8. Shoot a simple black windscreen, and some fluorescent red (turned out looking orange, because I did not want to mask it off and lay down some white for a background.)

Paint Splash and Checkers RC Heli Canopy

This is the first large canopy I ever painted, its an Align 600E canopy, for my Raptor 50 V2. It's also the first time I used my vinyl cutter to make some masks. I got a good deal on the cutter through eBay, and it came with a bunch of pink vinyl.

I did not realize how well regular vinyl would stick, so I managed to pull off some layers of paint when trying to remove my masks. Adhesive residue was left behind in many spots. After trying desperately to remove the residue, with everything from Goo Gone, to denatured alcohol, to Simple Green... I finally gave up and just shot my clear coat over it all before too much dust could stick. This made my canopy look bad up close but its perfectly flyable.

Swept Back Triangles RC Heli Canopy

After lots of doodling and browsing my folder of cool canopy images, I came up with this simple design:

I used fluorescent yellow and fluorescent orange for the background, flourescent red and black for the foreground, and a mix of silver, blue pearl, and black for the windshield area, with black used to fade the edges.

It turned out pretty good, with a few annoying spots where paint got through my masking. Some dust got kicked up when I applied the clear coat, it becomes obvious if you look close. More care will be taken next time.

< Prev  9  Next >